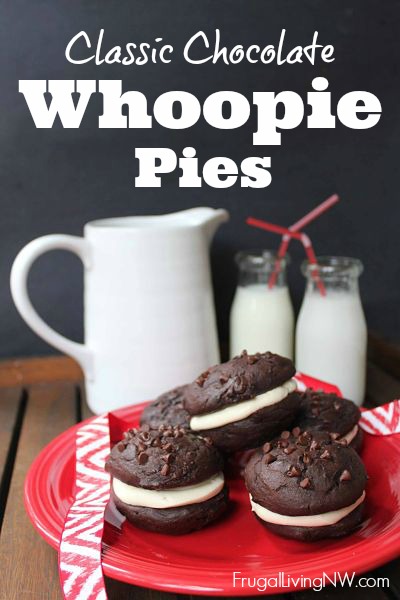
Classic Chocolate Whoopie Pies
A few years ago, the front page of an Oregonian Food Day section caught my eye. Whoopie Pies. Hmmm. Apparently, they are the new cupcake (Remember when those were all the rage?). The article started out,
London is in love with them. So is New York. San Francisco and Los Angeles are developing a serious crush, and Portland is next in line. For a snack that first gained its following in gas station convenience stores, whoopie pies have certainly come up in the world. It’s not really a surprise. Though these portable snack cakes fall into the same category as Twinkies and Ho Hos, they aren’t the same frightening wonders of chemistry. Plus, they look like a sandwich cookie but are really just cake and frosting. Add to that their inherent convenience, and a star is born.
(read the entire article here)
I was intrigued so I set the paper aside in my ever-growing mountain of recipes-to-try. The next day, I just laughed when my sister-in-law whipped out a bag of whoopie pies from her cooler during a zoo playdate/birthday party. Great minds think alike. The kids raced around on the grass, pies in their hands and smiles on their faces.
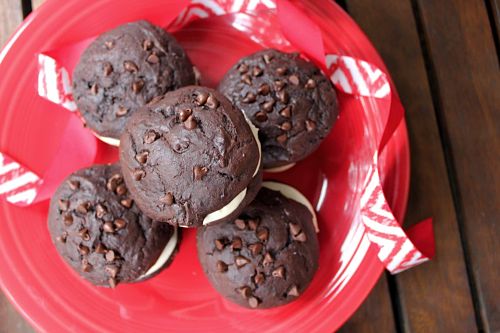
Whoopie pies really are easy to bake, make, and take. The toughest part was trying to decide which combination to assemble first. I settled on the Classic Chocolate Whoopie Pies with Coconut Cream Cheese Filling. The s’mores combo is definitely next on my list.
Whether you’re packing a picnic dinner or planning a birthday party, whoopie pies make a fun, portable treat. Give them a shot in your own kitchen!
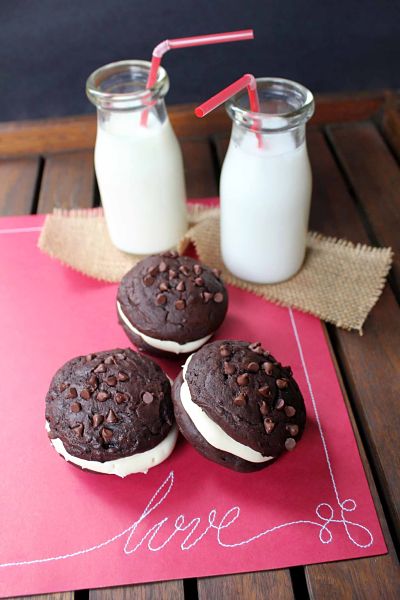
Classic Chocolate Whoopie Pies
From Whoopie Pies (Amazon) by Billingsley & Treadwell
Ingredients
1 2/3 cups all-purpose flour
2/3 cup unsweetened cocoa
1 1/2 teaspoons baking soda
1/2 teaspoon salt
1/4 cup unsalted butter, at room temperature
1/4 cup vegetable shortening
1 cup firmly packed dark brown sugar
1 egg
1 teaspoon vanilla extract
1 cup milk
- Preheat the oven to 375 degrees. Line two baking sheets with parchment paper or a non-stick baking mat.
- In a bowl, sift together the flour, cocoa, baking soda and salt; set aside.
- In a mixer fitted with the paddle attachment, beat together the butter, shortening and brown sugar on low speed until just combined. Increase the speed to medium and beat until fluffy and smooth, about 3 minutes.
- Add the egg and vanilla and beat for another 2 minutes.
- Add half of the flour mixture and half of the milk to the batter and beat on low until just incorporated. Scrape down the sides of the bowl. Add the remaining flour mixture and milk and beat until completely combined.
- Using a spoon, drop about 1 tablespoon of batter onto one of the prepared baking sheets and repeat, spacing them at least 2 inches apart.
- Bake one sheet at a time for about 10 minutes each, or until the pies spring back when pressed gently. Remove from the oven and let the cakes cool on the sheet for about 5 minutes before transferring them to a rack to cool completely.
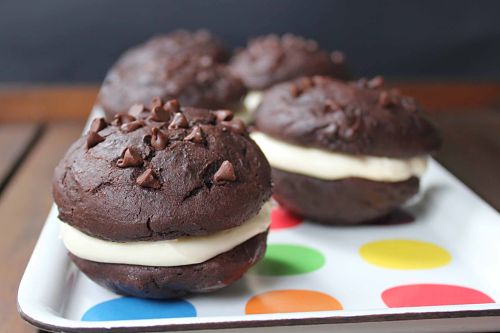
Coconut Cream Cheese Filling
If you’re not a fan of coconut, simply omit or substitute vanilla extract instead.
1 8-ounce package cream cheese, at room temperature
1/4 cup unsalted butter, softened (1/2 stick)
1/4 teaspoon kosher salt
1 teaspoon vanilla extract
1 teaspoon coconut extract
2 cups powdered sugar
- In the bowl of a mixer, beat cream cheese and butter together until fluffy.
- Add the salt, vanilla and coconut extract. Reduce speed to low and slowly stir in the powdered sugar until moistened. Increase speed and beat the mixture until light and fluffy.
- Scoop into a large plastic storage bag, snip off one corner, and squeeze the filling onto the cooled chocolate pie halves, topping with the other halves.
*****************************************************
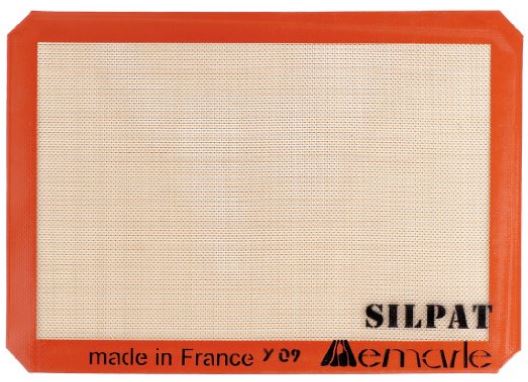
This recipe tells you to line your baking sheet with parchment paper, but you could use a Non-Stick Baking Mat as a reusable option. Amazon has the highly-rated Silpat Non-Stick Baking Mat in stock and ready to ship! During the holiday season, Costco will often have a 3-pack at a really reasonable price.
Looking for more delicious recipes?
Follow Frugal Living NW on Pinterest!
Fantastic range of boards from best recipes and tips for frugal living to gardening and budgeting help.
This post may contain affiliate links. See the disclosure policy for more information.

OMG my kids love these. sadly I’m not a baker but I am gonna give this a shot. Looks amazing.
I’m thinking of putting some peppermint extract in the filling and crushed candy canes on top.
they look so good!! hope you saved some for your friends!!
I made them and they are quite yummy. The Classic Marshmallow Creme filing recipe they list is too buttery for me, I’ll probably use have the butter the next time so they marshmallow flavor can shine through. I had no store bought cremem so I made my own, heaven!!!!
I bought my first whoopie pie at an Amish market in Pennsylvania. It is one of their most famous foods – almost a signature item, if you will. It’s funny to see a simple Amish dessert become the latest fad for “people on the go” – the completely opposite lifestyle of those who came up with the recipe.
I read the article and wanted to make some. I have never had them before but they look great. Thanks for the recipe! Can’t wait to try it!
We still have the paper laying here. My husband is drooling over them. I haven’t felt like doing anything lately, and he can’t cook/bake to save his life, so he is trying to figure out where to buy these. LOL Poor guy.
I made them with the kids that I nanny after seeing the article in Food Day. They were an easy fun project and a tasty treat!
I grew up eating these delightful little treats. They are the best.