How to Can Peaches
In August, peaches start to ripen and hang heavy from the branches. Whether you pick your own or buy them from your local farmers market or produce stand, fresh peaches are sticky, sweet summertime treats.
Early varieties of peaches are generally available in late July or early August. Later varieties should be available through mid-late September.
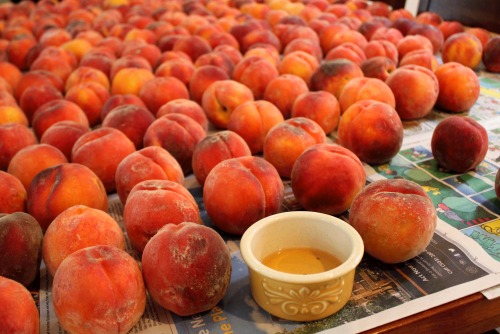
If you buy or pick large quantities of fruit, it’s a good idea to spread it out in one layer so you don’t end up with a mushy mess when the fruit starts to ripen. I also add a small bowl of apple cider vinegar (with a couple drops of dish soap) to the mix to keep the fruit fly population down. It works beautifully.
If you are planning to can peaches, you want to be sure you pick up freestone, cling-free fruit. This means the skins will slip off easier and the fruit won’t cling to the pit. Wait until your fruit is nice and ripe before you start, or peeling and pitting will just be an exercise in frustration.
Below is an illustrated guide to canning peaches using the cold/raw pack method. Everybody has their own little quirks or variations, but this is a basic guide to get you started:
To avoid stressful canning times, I follow two rules:
- I (almost) never can alone. There is safety in numbers. Small groups of 2-4 turn a long, hot job into a fun, productive day.
- I prep as much as possible in advance.
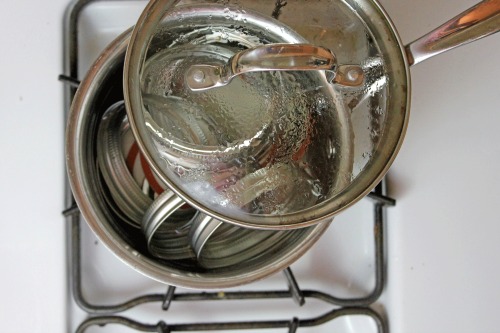
- Small pot – sanitize the lids. Place the lids (and rings, if desired) in a small pot of water. Bring to a simmer for 10 minutes to activate the seal and sanitize the lids.
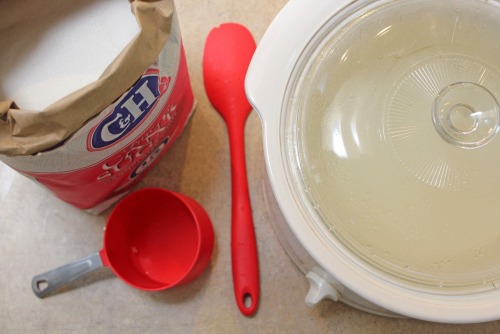
– - Large pot – sugar syrup. I prefer light syrup. The ratio is 3 cups of water to 1 cup of sugar. For a full canner of 7 jars, you’ll need about 9 cups of water and 3 cups of sugar. Combine in a large pot and bring to a simmer. Stir until the sugar is dissolved. This pot can be kept on the stove on low heat. Edited on 8/14/13: Reader Ruth left a tip to keep the syrup warm in a slow cooker on the counter. I switched to this method. It works great and opens up space on your stove top!
– - Canner – 7 jar capacity. Canners are relatively inexpensive, so if you have enough time, energy, and space, you could keep two canners humming at the same time. Fill the canner about halfway up with water. Keep the water warm but not scalding. You should be able to comfortably touch the water with your bare hand. Keeping it warm will decrease the amount of time you have to wait to bring it to boiling for the final step of processing the jars.
– - Shallow pot – Blanching the peaches. Place the peaches in the hot water for approximately 30 seconds. Remove them to an ice cold water bath. They will cool and be easier to peel. Some peach varieties will be easy enough to peel that you can skip blanching altogether. This is a good thing.
– - Wash your jars. Make sure they are clean and free of cracks. Also, run your finger around the rims to make sure there are no nicks as this will prevent your lids from sealing to the jars.
Are you still with me? Hang in there. The prep work is the tedious part; it gets easier from here.
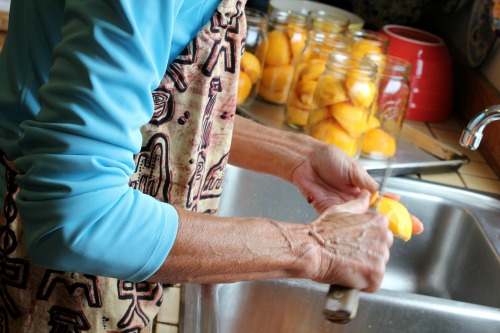
Peel, pit, and cut up the peaches. You can slice, quarter, or halve them. Whatever floats your boat. I like quarters. They’re easy to pop off the pit and fit nicely into the jars. It takes 4-5 medium peaches (about 2 1/2 pounds) to fill one quart. Around 18 pounds should fill one canner of 7 quart jars.
Fill up one jar at a time. Pack the peaches to within 1 inch of the top of the jar, which will be around the bottom of the threaded neck. Shake gently to settle the peaches into their new home. I go for speed; not beauty. My sister always says, “We won’t be winning any 4-H ribbons at the fair.” True enough. However, by gently stacking the peaches in the jar with the pit-cavity side down, they fit and look better.
Depending on the variety of peaches you are canning, they may darken slightly from the time they are cut. It personally doesn’t bother me enough to do anything about it. If you are going for that blue ribbon, you can use either Ball Fruit Fresh or lemon juice to keep the color bright and peachy.
Using the warm prepared syrup, fill the jars to within about 1/2 inch of the top. You can use a soup ladle or pour the syrup directly from the pot into the jars. The peaches should be covered with the syrup. Syrup helps maintain the flavor & texture of the peaches.
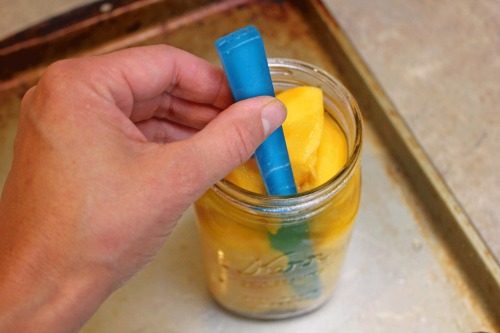
Slide a plastic utensil between the jar and the peaches, gently pushing into the peaches to release any air bubbles that might be trapped. Do this several times, working your way around the jar.
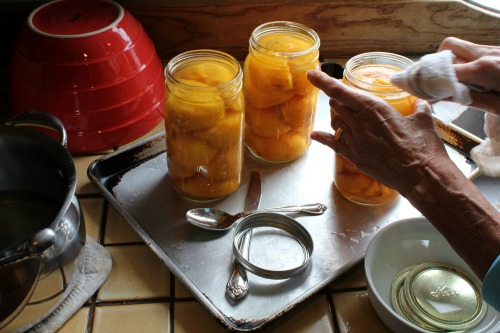
Wipe the rim of the jars with a clean towel. Place a sterilized lid on each jar and screw on the ring fingertip-tight.
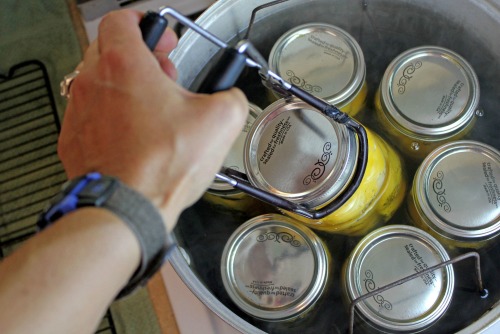
Using a jar lifter, slowly lower the jars into a canner filled with warm water. The tops of the jars should be covered with at least one inch of water. If you are using the cold pack method, you want to make sure the water is not too hot, otherwise the jars will crack and all your hard work will spill into the canner.
Cold jars + hot water = bad news. Not that I speak from experience. Okay, okay. I totally speak from experience. I’ve had several jars of peaches sink to a watery grave this way.
Put the lid on the canner. Bring to a boil. Once the water is up to a boil, set the timer and process for 30 minutes in the simmering water.
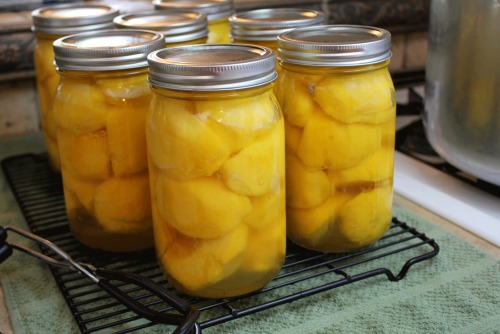
When the timer goes off, use the jar lifter again to move the jars to a drying rack or towel on the counter top to cool. As they cool, the lids will seal. Sometimes they give off a satisfying “pop”; sometimes they don’t. After a few hours, you can check the lids by gently running your finger over the top. If they are sucked in, they are sealed.
If any jars don’t seal, you can still use them. Just move the jar to the refrigerator and use within a few days. After 24 hours, remove the rings (can be re-used), rinse the jars, and store the canned peaches in a cool, dark place.
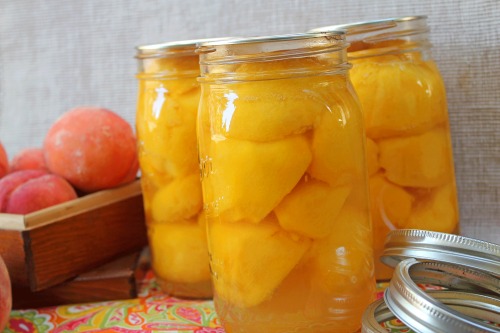
There you have it, Canning Peaches 101. See? It’s totally possible for the first-time canner. Like many things in life, canning does take time and effort and attention. You will be tired. Your countertops will be sticky. Your children will be eating Cheerios off the floor. But those jars of golden goodness lining your kitchen shelves will make it all worth it.
Are you new to canning? Be sure to go through our Home Canning Guide posts for a beginners guide, equipment suggestions, and recipes!
*********************************************************
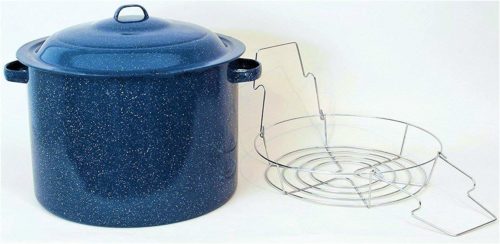
A Water Bath Canner with Rack is a surprisingly inexpensive investment. You can often find these secondhand for around $10; Amazon usually carries this steel/porcelain canner, which is what I own, for less than $50. This 21 1/2 quart capacity will hold up to seven jars. Canning equipment can be hard to find during this weird Covid time, but I wanted to link to the item just so you can see what you’re looking for!
Looking for more delicious ways to use up those peaches?
Find more frugal homemaking posts here and a list of amazing recipes here.
Follow Frugal Living NW on Pinterest!
Fantastic range of boards from best recipes and tips for frugal living to gardening and budgeting help.
This post may contain affiliate links. See the disclosure policy for more information.



After the jars are done canning, why do you remove the rings?
This is hands down the best and easiest tutorial on canning peaches I have come across. I applaud you for your articulation and experience! Thank you SO MUCH!