Raised Garden Bed Building Instructions
Our garden area has been under construction for several months now, but the finish line is finally in sight. Raised beds are not difficult to build; projects just take us forever to complete these days. Seriously, our toilet paper holder fell off the wall three months ago, and we still haven’t fixed it. A two-minute job at most. But… we have kids, so it’s more like a two-minute job that turns into plunking the little people into the bathtub, scrubbing the toilet, and starting a load of laundry.
What was I going to do again?
Anyway, when we purchased our home, there were already two large (8’x10′) raised beds on the property. We knew we wanted to add more raised beds, creating a tiered garden on our sloped lot. We settled on smaller beds (6’x10′) so the middle was easier to reach from the sides. Most raised beds are around 4′ wide for the easiest access, but we wanted to maximize our space. And my husband and I have abnormally long arms. The 10′ sides will match and create a nice grid with paths running in between the beds.
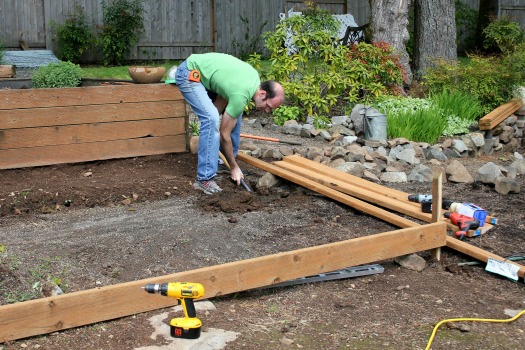
The original raised beds were made from pressure-treated lumber. I’d heard that this wasn’t a good material due to chemicals leaching into the soil. The more I read, the less I was concerned (for more on this topic read here). So we opted to go with pressure-treated lumber for the rest of the raised beds, not only to match the two existing beds, but also because it is significantly cheaper than cedar or redwood and will last longer.
We lined the inside of the lumber with black plastic before adding the soil to create a barrier between the soil and the lumber. If moles are a big problem in your area, it’s a good idea to line the bottom of the bed with wire mesh or landscape fabric before adding soil.
We bought 12′ 2×6 boards, which Ed cut in half for the 6′ ends and 10′ boards for the sides. I like the sturdy feel of building raised beds out of 2×6’s. I have read several raised bed tutorials using inexpensive cedar fence boards. To me, the savings isn’t worth it in the long run. I want something that won’t warp or fall apart a few years down the road.
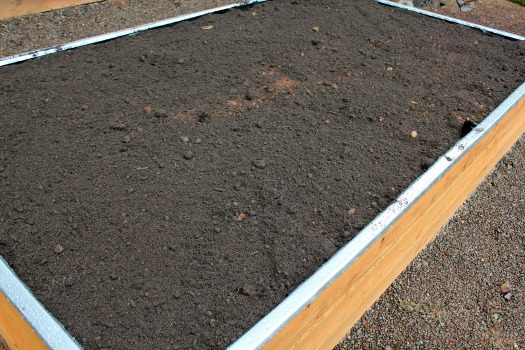
Like most things in life, raised beds can be as simple or complicated as you want to make them. The large beds we built cost us just under $100 each. This includes all building materials, as well as the soil to fill them. With this much garden space, we will be able to grow the bulk of vegetables we will eat this summer. And honestly, we are not concerned about when the beds/soil/plants will pay for themselves. The quality and satisfaction of growing our own food is good enough for us.
So far we have added three new raised beds (I am begging the hubs for two more), which we filled with soil and plants last weekend. I can hardly move, but they look beautiful.
We filled our beds with garden soil from a local landscape supply company. We chose the 4-way blend, which is a combination of soil, sand, compost, and cow manure. It cost $30 per yard. A yard of soil is 3’x3’x3′ (27 cubic feet). Maybe 6-7 average wheelbarrow loads? Two yards fit into our truck. We ended up with a total of 3.5 yards, which went in the raised beds, in addition to a few other spots around our yard.
Along with this soil, I worked in generous scoops of our own compost, to introduce more nutrients and worms to our raised beds. My husband also removed half of the old, compacted soil from one of the existing beds (the other is holding rhubarb and garlic right now) to work in more of this loose, rich soil. I was really happy with the soil combination. Hopefully our plants are equally impressed. All I know is planting tomatoes was about a billion times easier than last year. And that, my friends and countrymen, is no exaggeration.
How to Build a Raised Garden Bed
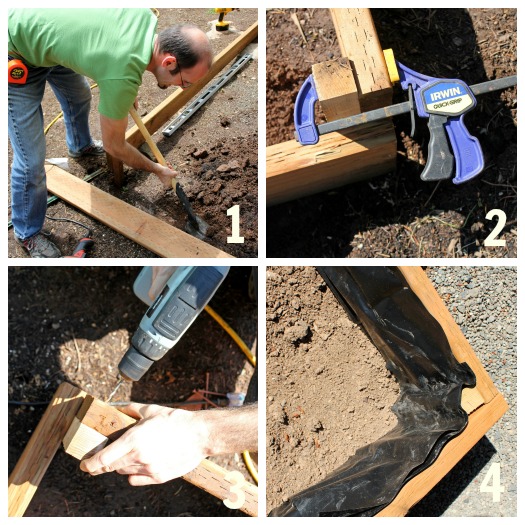
Locate an area in your yard that gets full sun. Decide how big you want your raised bed(s). 4’x4′ is a good starting size if you are working with a smaller space. Prepare the site by leveling the ground where the raised bed will go. If you are working with ground similar to ours, dynamite and a pickax can be helpful.
You can sink your corner posts into the ground or have a freestanding box with the posts and side rails screwed together. We used 2″ square posts. 4″ posts would work fine, too. Using clamps will help keep everything square while you are working on the opposite end.
Using a level to keep the boards even, attach the 2’x6’s to the posts using coated deck screws. My husband drills a pilot hole to prevent the possibility of wood splitting, but feel free to skip that step if you are not a perfectionist. Also screw the 2×6’s to each other in the corners.
(Optional) Using a staple gun, line the inside of the bed with 6 mil. black plastic to create a barrier between the soil and the lumber.
Fill with a mix of high-quality topsoil and compost. You are ready to plant!
Benefits of raised garden beds
You can’t sink a shovel into the soil anywhere on our 3/4-acre property without hitting a rock. More like sixty rocks. No joke. It’s like living on top of an old quarry. Planting tomatoes directly into the ground (or anything really) is an exercise in frustration. So while I love the idea of a large, level garden plot, it just isn’t going to happen on our sloped, rocky lot. No problemo. Enter raised garden beds.
- Soil drains better
- Access is easier
- Soil temperature warms faster
- Soil stays looser and is easier to work
- High-quality soil can be used in areas with poor topsoil
- Beds are easier to keep free of weeds and safer from destructive creatures (rabbits, moles, children), especially with higher sides
- They create a neat, tidy garden space
And the benefits can be enjoyed season after season, so while there’s a bit of upfront expense and work, raised beds should last for years with minimal maintenance.
********************************************
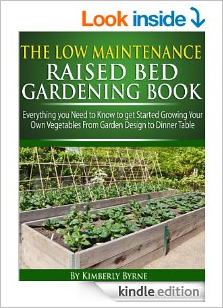
Looking for more information on gardening with raised beds? Check out The Low Maintenance Raised Bed Gardening Book by Kimberly Byrne, Kindle edition (Amazon).
Want more garden inspiration? Check out these great posts:
- Compost Made Simple
- Planting Tip for Vegetables Seeds and Starts
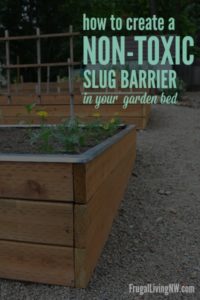
- Get Rid of Slugs with a Non-toxic Barrier
Looking for more?
Find more gardening posts here.
Follow Frugal Living NW on Pinterest!
Fantastic range of boards from best recipes and tips for frugal living to gardening and budgeting help.
This post may contain affiliate links. See the disclosure policy for more information.
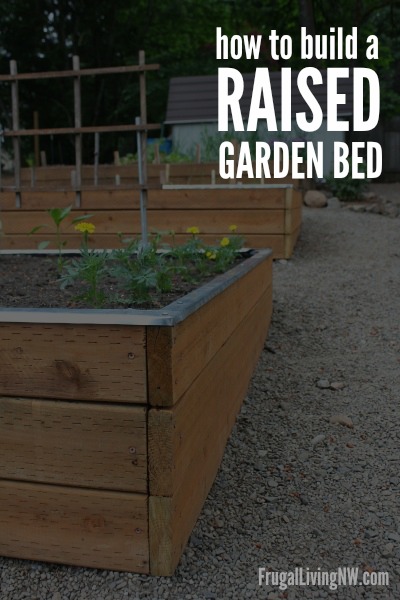

Building a raised garden bed is not just a practical gardening solution; it’s also a rewarding DIY project that allows you to customize your growing space. As someone who recently undertook the adventure of building raised beds, I’d like to share some insights on how to make the process enjoyable and successful.
I wish I had realized ealrier on that I could get a bulk soil delivery, but I built my beds incrementally and wasted a lot of money, not to mention plastic, buying bagged topsoil and compost. I have a pile of leaf mulch in my driveway right now, so I feel your pain, literally! It looks great.
Is that flashing along the top rim, or plastic?
Those are zinc strips running along the top. Maybe it’s called flashing? I think the original purpose was for roofing. More info on those here: http://www.frugallivingnw.com/frugal-homemaking/raised-garden-beds-how-to-create-a-non-toxic-slug-barrier/
“You made your bed; now sleep in it.”