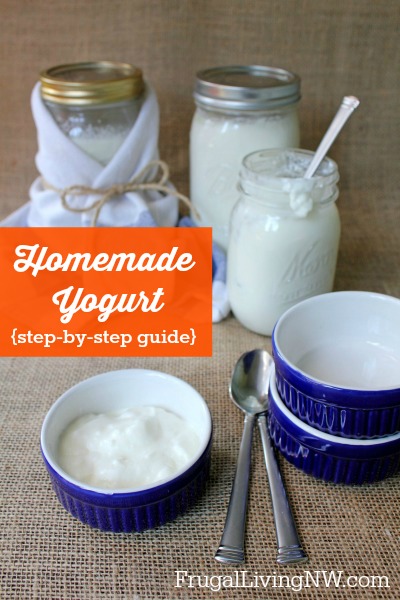
Homemade Yogurt Recipe
Making yogurt in my own kitchen has been right up there with grinding my own meat or baking my own bread. It is one of those kitchen skills that seems intimidating at the beginning, but once you figure it out you wonder why you were paying other people to do it.
I know, I know. You are busy! You are lazy! You are tired! Me too. The good news with making your own yogurt is that most of the work happens when you step away. In fact, you could easily start your yogurt before you go to bed, allow it to ferment while you sleep (6-12 hours), and put the finished product in the fridge the next morning. It doesn’t get much easier than that.
My family of six goes through about two 32 ounce cartons of plain yogurt every week or so. I eat it for breakfast nearly every morning and often use it for baking or making smoothies. I would typically pay between $2-3 for a 32 ounce carton of plain yogurt. By making it myself, I can whip up 1 1/2 quarts (48 oz.) for around $1.
Plus, I have complete control over the ingredient list, which is milk + starter/yogurt. And with a potential of 100 yogurt cartons a year for our family alone, it also significantly reduces the amount of waste/packaging we are handling.
Yogurt is basically milk which has been fermented by two types of beneficial bacteria starters and put in a warm spot to culture. This bacteria (together known as acidophilus) acts on the lactose (milk sugar) to produce lactic acid. This transforms the milk into a creamy texture and gives it a tangy flavor. Some yogurt products on your grocery store shelves have been heat-treated after the fermentation process to extend the shelf life. This kills off most of those beneficial active cultures. When buying yogurt, make sure to look for labels of “live & active cultures.”
Our bodies need good bacteria in our digestive tracts to help us digest food and protect us from harmful pathogens. Yogurt made with live, active cultures can help keep that balanced. I honestly feel better when plain yogurt is a regular part of my diet. In addition to the helpful probiotics, yogurt contains protein, calcium, vitamin-B, and potassium.
There are many different methods you can use to make yogurt at home: slow cooker, insulated cooler, oven, yogurt maker. I have tried three different ways, and this one is my favorite. While these steps work beautifully, I am seriously tempted to buy my very own yogurt maker. What do you think? Yes? No? Say yes, I already have one picked out (Amazon). I’ve included directions for both.
Ok, let’s get this party started!
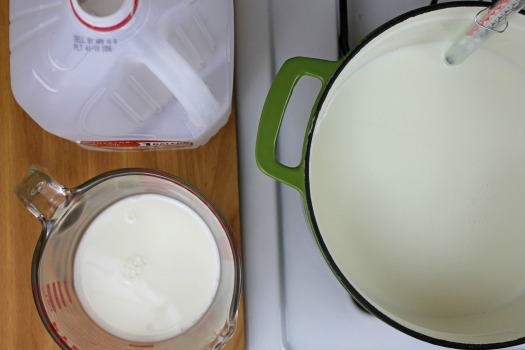
In a heavy pot, heat 4 1/2 cups of milk over medium heat until it reaches 180° (an inexpensive candy thermometer is the only special equipment you’ll need for this project). I prefer whole milk yogurt, but you can also use nonfat or low-fat milk for this recipe.
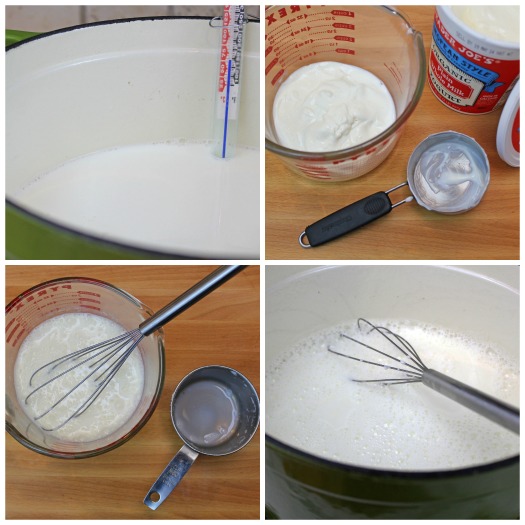
Remove the pot from the heat and let the milk cool to 110°. Put 1/2 cup of plain unsweetened full fat yogurt into a medium bowl or measuring cup. You can also use a yogurt starter culture, available at some grocery stores or online retailers.
Add one cup of the warm milk to the yogurt and whisk until smooth. Add the mixture back to the pot of warm milk and whisk until it’s slightly foamy.
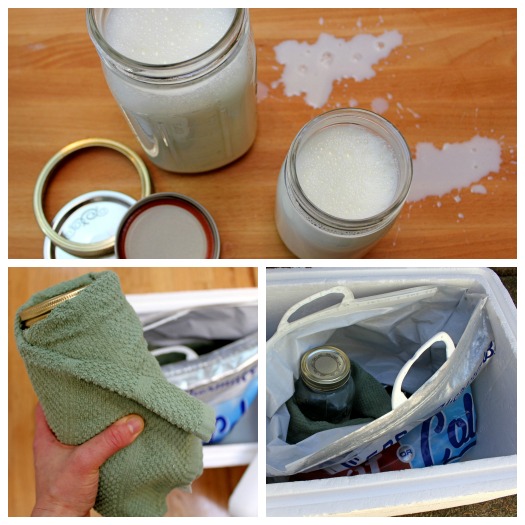
Clean 1 quart and 1 pint glass jar. If you can time it so they’re hot out of the dishwasher, that’s great. Fill the jars with the warm milk mixture and screw on the lids. I have a ridiculous number of canning jars so that’s what I use, but this would be a great place to re-use glass spaghetti or pickle jars. Wrap the jars in a towel to keep them warm and place in a small insulated cooler.
Fill another jar with hot water, wrap it in a towel, and place this in the cooler, as well. I wrap all 3 jars up, place them inside an insulated bag, and slide that into the cooler. It sounds like a great big hassle, but it takes a whopping 5 minutes. Once I pull the yogurt jars out, I just dry everything and store it together for the next batch.
If using a yogurt maker, see directions below.
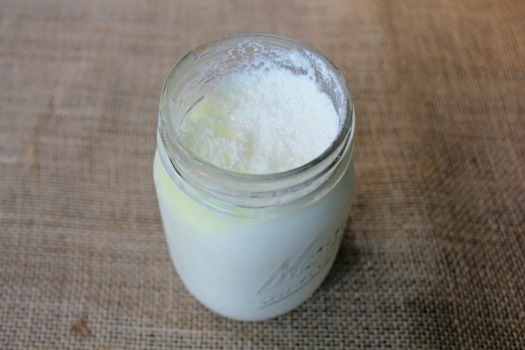
Leave it alone for 5-12 hours. Following these steps, mine comes out perfectly at 5-6 hours. You want the yogurt to be firm and smooth. A little liquid or whey on top is fine (you can pour that out if you’d like). Too much can mean your yogurt cultured too long. It’s fine to eat, but next time cut your culture time by 1 hour.
If your yogurt turns out runny, check to make sure your milk isn’t ultra-pasteurized or that your yogurt starter isn’t old/weak. If you want a firmer yogurt, you can add a few tablespoons of nonfat powdered milk to the starter. I personally didn’t notice a big difference when I tried this, though, so I don’t plan to bother with that extra step/ingredient again.
For a thicker, Greek-style yogurt, place a colander lined with cheesecloth over a bowl. Pour the yogurt into the colander and let it strain in the refrigerator for several hours until you have the desired consistency.
After the 5-12 hours, when your yogurt is firm, place the jars of yogurt into the refrigerator for two hours to chill before eating. Eat the quart jar of yogurt and set aside the pint jar to use as starter for the next batch.
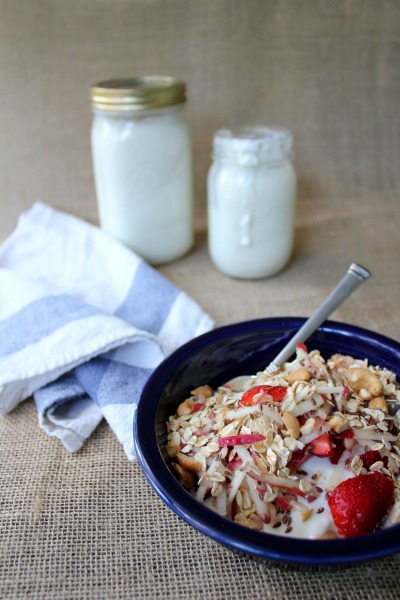
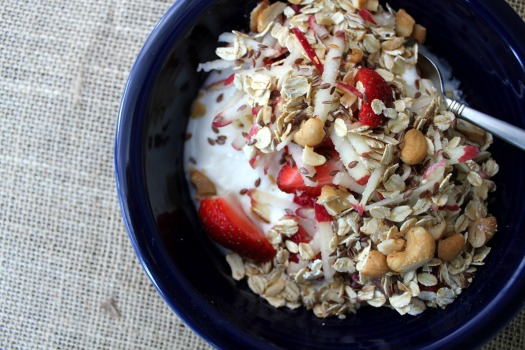
My current favorite way to enjoy yogurt is with a scoop of old-fashioned rolled oats and a sprinkle of chopped nuts and flax or Chia seeds. It’s like a raw granola, single serving muesli. Then top with fruit. I love the combination of grated apple + fresh strawberries. You can also top it with our delicious Maple Cluster Granola.
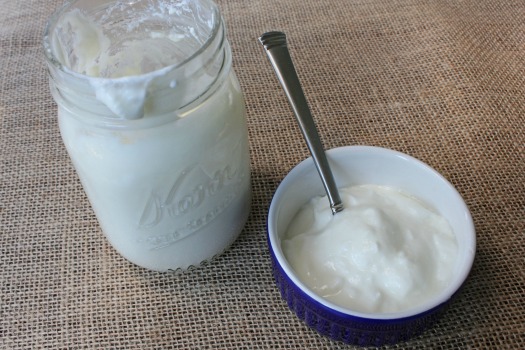
Homemade Yogurt
Yield: approx. 1 1/2 quarts
Ingredients
4 1/2 c. milk (nonfat, low fat, or whole — just make sure it’s NOT ultra-pasteurized)
1/2 c. whole milk plain unsweetened yogurt
- Pour the milk into a heavy pot, with a candy thermometer attached to the side. Bring to 180° over medium heat. This will take about 15 minutes. If a skin develops on the milk, just skim it off and discard.
- Remove the pot from the heat and let the milk cool to 110°.
- Measure the yogurt starter into a bowl or measuring cup. Add 1 cup of the warm milk and whisk until smooth. Add the mixture back to the pot of warm milk and whisk until frothy.
- If using a yogurt maker, pour the milk into the individual cups of the yogurt maker and proceed according to the yogurt maker’s instructions.
- If using jars & a cooler, fill 1 quart and 1 pint jar with the warm milk mixture and screw on the lids. Wrap the jars in kitchen towels and place them in a small insulated cooler. Fill 1 quart jar with warm water, screw on the lid, wrap it in a towel, and place it in the cooler next to the other 2 jars.
- Check the yogurt in 5-6 hours. It should be pretty firm, slightly jiggly is okay. Feel free to let it culture longer. Once ready, remove the jars from the cooler and place in the refrigerator to chill for 2 hours before serving.
- Eat the yogurt from the quart jar and set aside the pint jar to use as starter for your next batch.
*****************************************

I love this Winco Candy Thermometer with Hanging Ring (Amazon). It’s almost identical to the one my parents owned when I was a kid. I would use it to help my dad make peanut brittle. The design is much sturdier than the fragile glass one I currently own. When it inevitably breaks, this is what I will use to replace it. Great reviews and less than $10!
Looking for more delicious breakfast options?
Follow Frugal Living NW on Pinterest!
Fantastic range of boards from best recipes and tips for frugal living to gardening and budgeting help.
This post may contain affiliate links. See the disclosure policy for more information.


I once had a “Yogurt Muff” which was just a quart mason jar sized wrap made from quilted material. It would, of course, only culture one quart at a time, but I LOVED it! Lost it in a move years ago, and plan to make my own soon. Maybe even make two or three! It just required you to heat and culture, then place the quart jar in the “muff” and leave overnight, much as you do here. I do prefer not to use any powdered milk,(some add it to help make it thicker) as it has something in it that isn’t good …(can’t remember what right now), and I also prefer to strain the whey (they call it GREEK yogurt now!) I just found a local cow share, and plan to get some raw milk soon!
You should be using your Instant Pot. Makes yogurt making a breeze.
Would this recipe work with goat’s milk?
I think it would if it’s not ultra-pasteurized.
I’ve been making my own yogurt in a Yogotherm for almost 3 years and it comes out perfect every time. We do strain ours because we like it thicker, but that step is optional. This yogurt is fabulous with homemade freezer jam!
I’ve tried this now two times….first time I think i got my milk too hot and the yogurt was curdled…:( Second time it was really runny..? Help for ideas why. I was starting with 1% milk and Nancy’s nonfat plain yogurt. Could the low fat content make it runny. Still tasted good but if I strained it, i don’t think there would be anything left
Yes, fat content will make a difference. I would suggest going with whole milk.
Where do you get your milk from?
Rachel: You can use any type of milk, just make sure it’s NOT ultra-pasteurized (Darigold is ultra as is many organic brands). I’ve used regular grocery-store brand whole milk and it works perfectly!
I microwave the milk (1/2 gal at a time) in an 8 cup Pyrex pouring bowl. It takes about 16 minutes to reach 170 deg. I love homemade yogurt–cheap and healthy!
Just be sure everything that touches the milk from the time it has cooled until it is done culturing is CLEAN CLEAN CLEAN or you might be culturing the last sneeze someone had in the kitchen and feeding it to your kids. Be careful when growing your own bacteria. I’m just saying.
How long would this keep?
It will keep for 2 weeks in the fridge.